|
index | [1] [2] [3] |
|
With the help of plugin filters, you can turn a photo into an image that looks very much like a watercolor, with softly blending colors and dark fringes on outlines, without applying a single brushstroke yourself. To achieve this effect, I have used PaintEngine downloadable from [ Fantastic Machines ] and Simplifier available at [ AmphiSoft ]. They are both free. (Unfortunately they are for Windows only.) These Photoshop-compatible plugins can be used also from Paint Shop Pro, Fireworks, etc. In achieving watercolor-like effects, I used the following basic principles.
When you apply filters to a photograph, make a clone immediately after opening the image and work on the clone to avoid accidentally overwriting the original file.
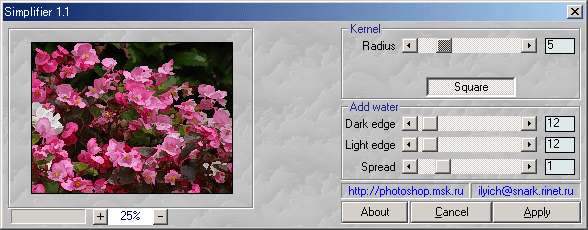
When you select AmphiSoft Simplifier from the Effect menu, you see the dialog below. |
 >
>
|
Set the parameters as in the above dialog, and click "OK."
This is very nice. The clear borders between colors can be used as water fringes, but the overall impression is a little too solid. Let us add some softness.
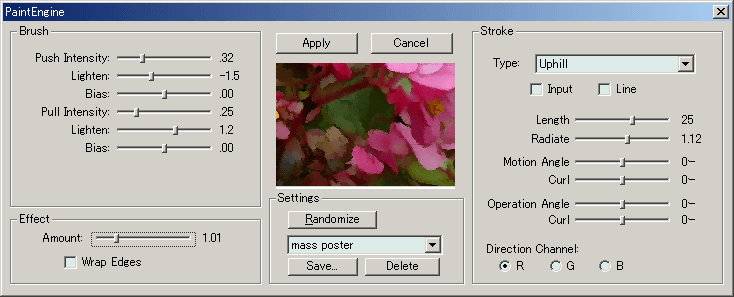
For that purpose, I have chosen PaintEngine's "mass poster" preset, which softens and create flat color planes at the same time. |
|
On the PaintEngine dialog, the sliders to the left and the right controls the settings, and at the center is the preview of the filter's effect with the current setting. Presets can be accessed from the dropdown list at bottom center. When you change settings and like the result, you can click the "Save" button to save your settings as a new preset. If the dropdown list is empty, the PaintEngine INI file "fmachine.ini" is not where it should be, that is, in the folder "C:\WINNT" on Windows 2000 and XP and "C:\Windows" on Windows 98 and Me. From the dropdown list, choose "mass poster". At the amount saved with this preset, the effect eliminates too much detail, so lower the Amount on the Effect slider on bottom left to about 1.0, and click "Apply."
With this kind of image which is fuzzy and without delicate lines, resizing to a larger scale works quite well. Since filters work on pixels, applying them to large images (more than 1,000 pixels in width or height) makes their effects too small in relation to the whole picture. You can get more dramatic results when you first resize the original image to a smaller scale and apply the filters, and resize again to the original dimensions afterwards. The filter work is done, but you can further enhance the image using Painter's own effects. (Last Modified: 2003/10/18) |
|
return |
|
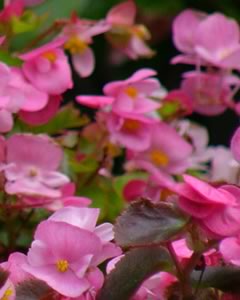 This is the photo (a detail), taken with a digital camera (Panasonic DMC FZ1 in this case), to which I am going to apply the watercolor effect. The photo has been resized to 50% of the original.
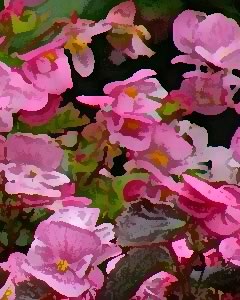 After applying the filter, the image looks like this.
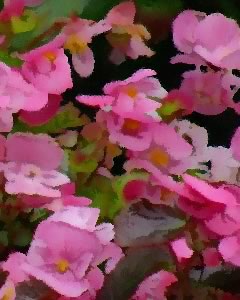 After applying the effect, the image looks much more like a watercolor. I want to go a little further along this line, so I repeat Simplifier and PaintEngine at the same settings. This removes some more small details. (But this is not really necessary.)
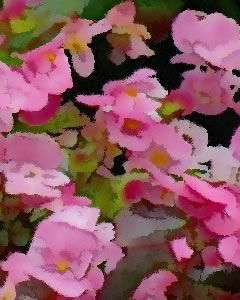 Since PaintEngine "mass poster" makes the image darker, I apply Brightness/Contrast with Brightness raised about 15%.